My most mature, and easily my craziest project. The LED trays were developed before this, but I thought about chessboards with flashing LEDs around the same time, and then dismissed the idea because it just seemed far too wild and difficult to accomplish.
But I did it. There was a very long development process, a bit longer than the trays, and I'm still working on balancing the colours with the strength of the lights.
The boards are magnetised, as of course are the pieces. The attraction is intended to be strong enough that you could theoretically play upside down, should you wish to do so :~) The LED lights are of course embedded within the resin. That was one of the most complex things to develop, but I got it working nicely in the end.
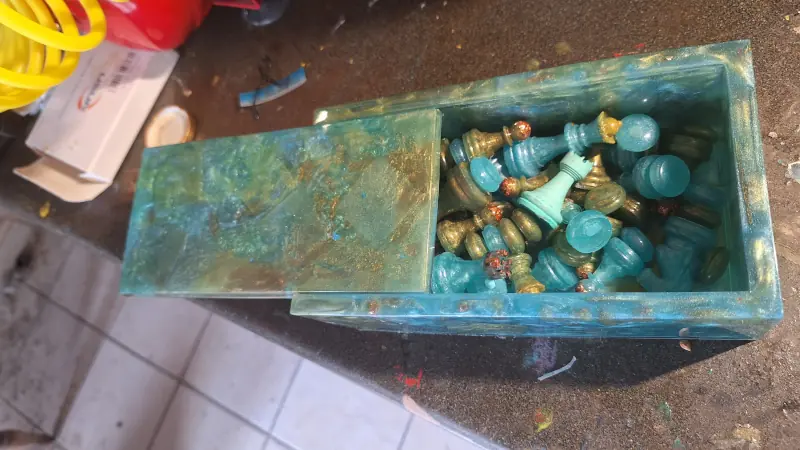
The box for the pieces is of course created from two silicon moulds, like (almost) everything else. The decorations inside the box are extra bits and pieces created during the process of creating the board itself. The last little trick is to add a few little magnets to the lid, to try to keep it closed, and stop it from opening up and losing pieces while travelling.
If anyone's wondering what my grade or "handicap" is in chess, the answer is that it's pretty low, or rather there isn't one, because I just don't play at all. I do have an idea for a funny new variation of chess, which I've been doing my best to proselytise about in recent times, and I'm fascinated by the psychology of chess, as seen in the story of Bobby Fisher and The Queen's Gambit, but basically I am not a player of any description. I just make these boards, and it seems right that the maker of the boards should not be a player.
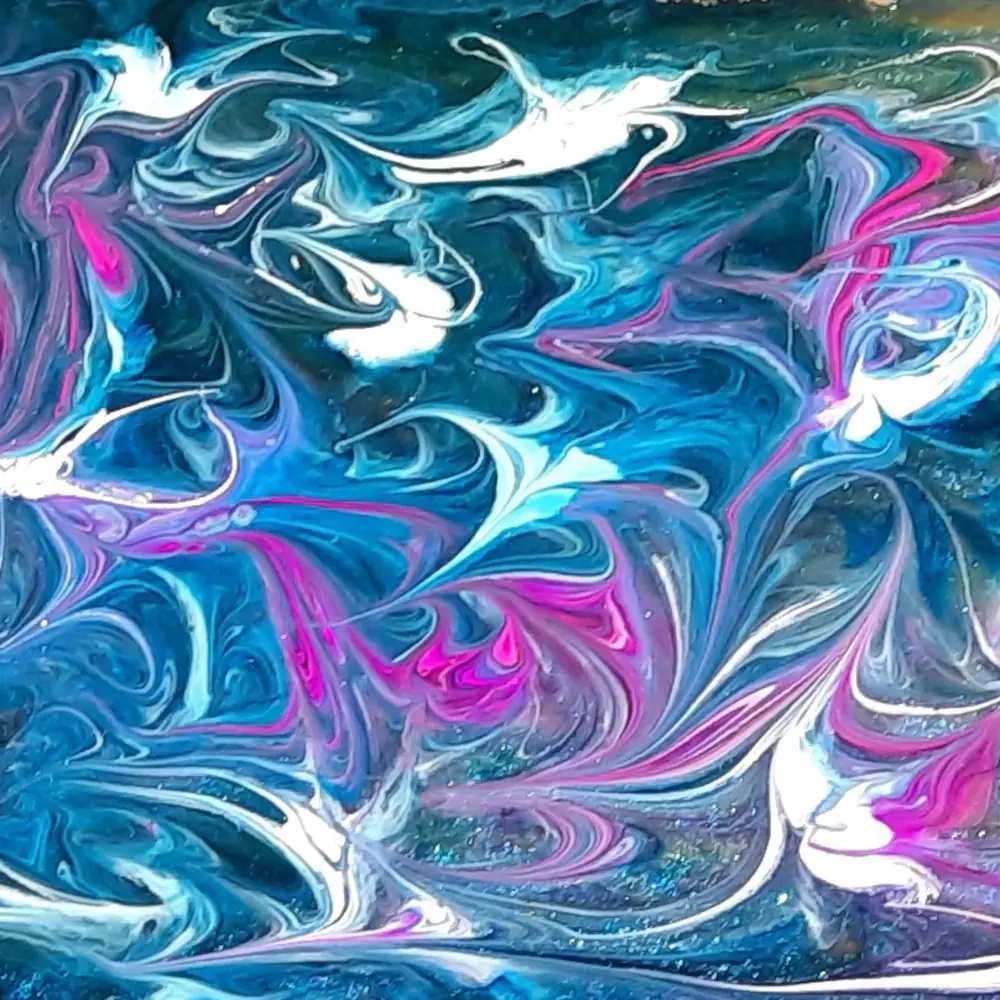
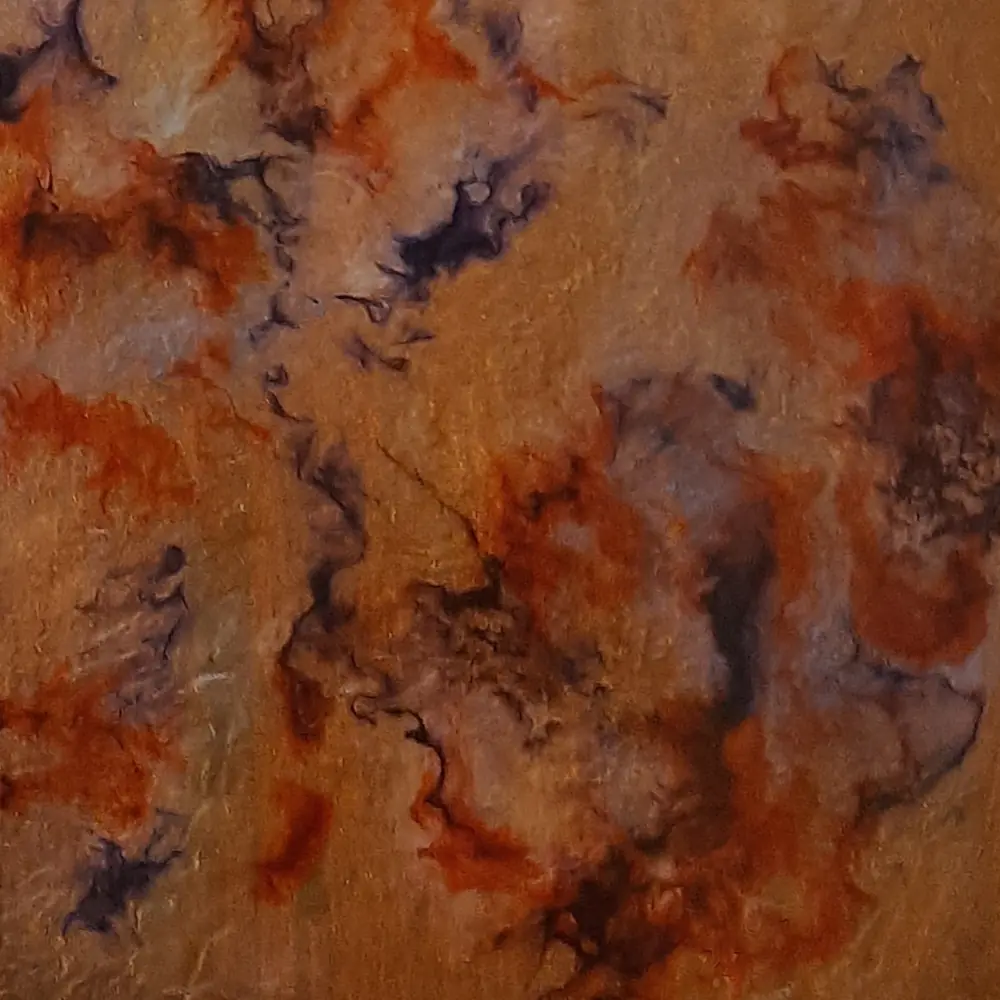
Land and Sea
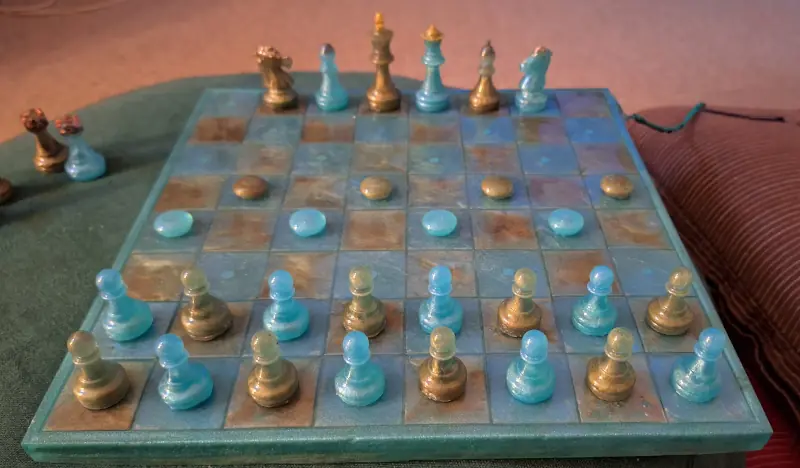
Apparently this is not ideal for some colour-blind people (sorry about that), but hopefully the concept is clear enough and dramatic enough to grab the attention of those who can clearly see the difference. For those who can’t, fear not – there will be plenty of colour variations in time.
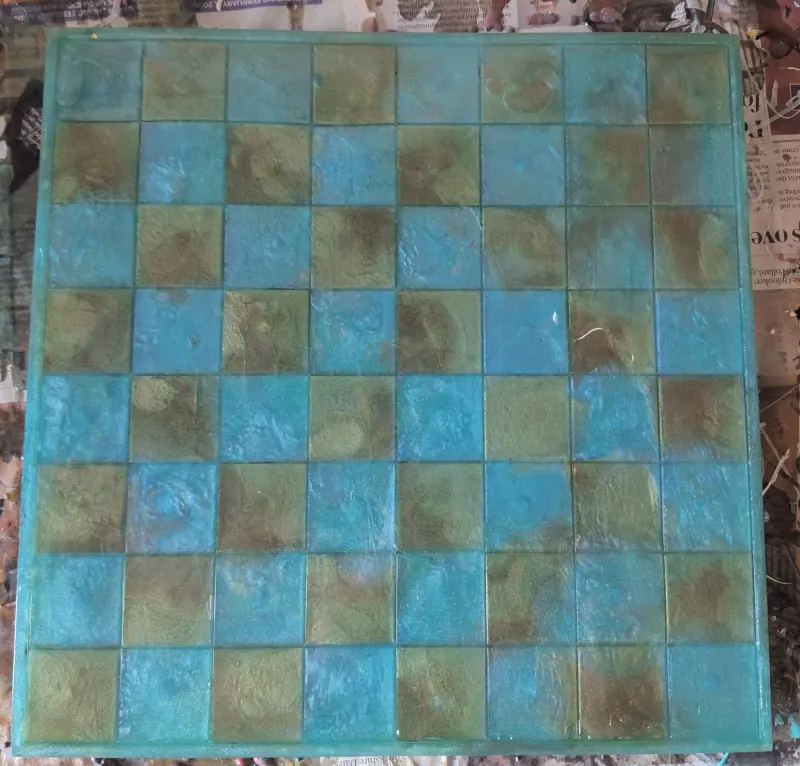
I actually had started this piece by painting the board underneath with squares of green and teal, as you see in the picture here. I thought that this might enhance things, but in fact I think it was completely unnecessary, and a waste of time and effort, which I haven’t done since. All I really needed to do was to have a simple undercoat of white, as long as the colour balance in the epoxy was correct. Getting the balance right takes time, of course. It’s a lot of trial and error.
I went for a mix of two military greens (khaki and forest), and I mixed an ocean blue with drops of Persian green for the sea colours. The trouble with this, for future reference, is that the makers of mica powders change the names of these colours all the time, so consistency is a bit difficult to achieve. You have to work around these things, I guess.
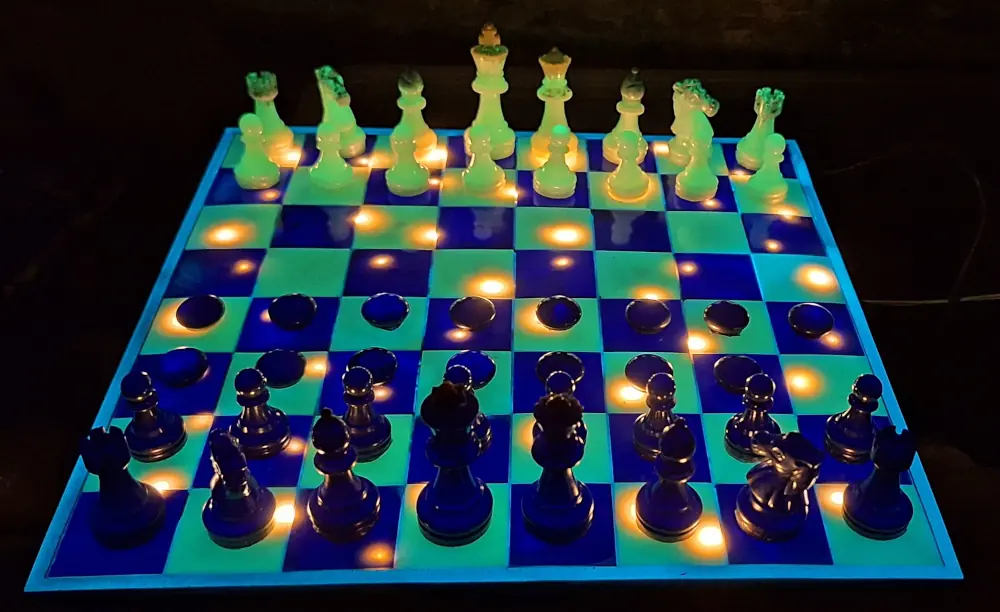
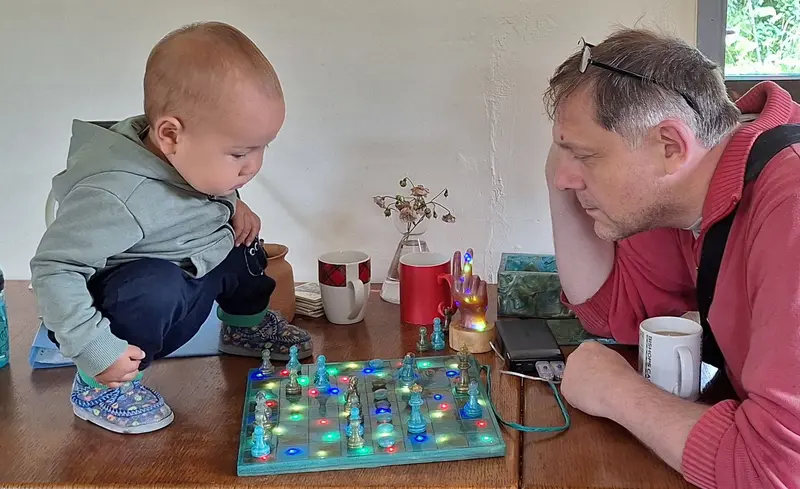
It Glows!

You may well ask why I would want to design a chess set that glows in the dark. Fair enough. The answer to the question will, however, have to be a very unsatisfying “Why not?”. I don’t know how many nightspots there are in the world where people play chess as well as dance under UV lighting, but let’s say that this will be perfect for that.
Getting the colour balance right on these presents extra challenges, as there are two different things to take into account. Firstly, the glow-in-the-dark powders, which are invisible in full daylight, have different strengths. A green is much more powerful than a purple, and so you need to add much less green than purple. Likewise, you see here that I used black and white for the daylight colours. That’s because the friend that I was making it for was a bit traditional (boring???) in his colour requests. Actually I should thank him for that, because his boring colour request was what caused me to experiment with the glowing colours. So I added the green glow powder to white, and the purple glow to the black.
Being the first experiment, it was inevitable that I didn’t get the balance right on this one. The black was too dark, which meant that the purple glow didn’t come through as much as the green comes through the white. Also, the thicker concentration of the black meant that the light from the LEDs is much stronger under the white squares than the black ones.
I made a second one of these, a few months later – this time for the chess club at the Ukrainian refugee-support charity where I taught English most Saturdays from October 2024 to June 2025. The black and white that I used in the resin were exactly the same, but I used coloured LED lights this time, as opposed to warm white in the first one. The balance was definitely much better than the previous one, but of course still not quite perfect. There will need to be a few more trials before I get it spot-on. The people at the chess club made some fantastic videos for me, with the kids playing on my board. I'm just waiting to ensure that I have full permission from all concerned, and then I'll add the videos to the site.
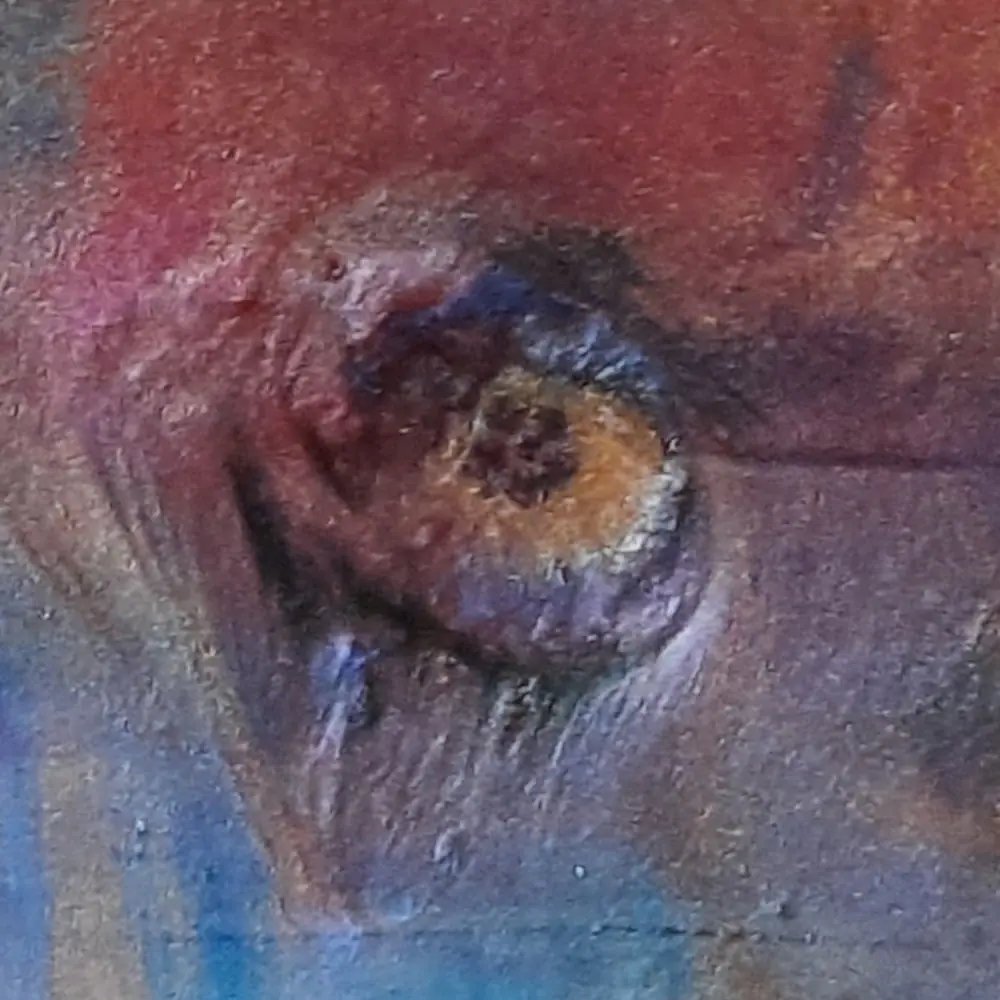
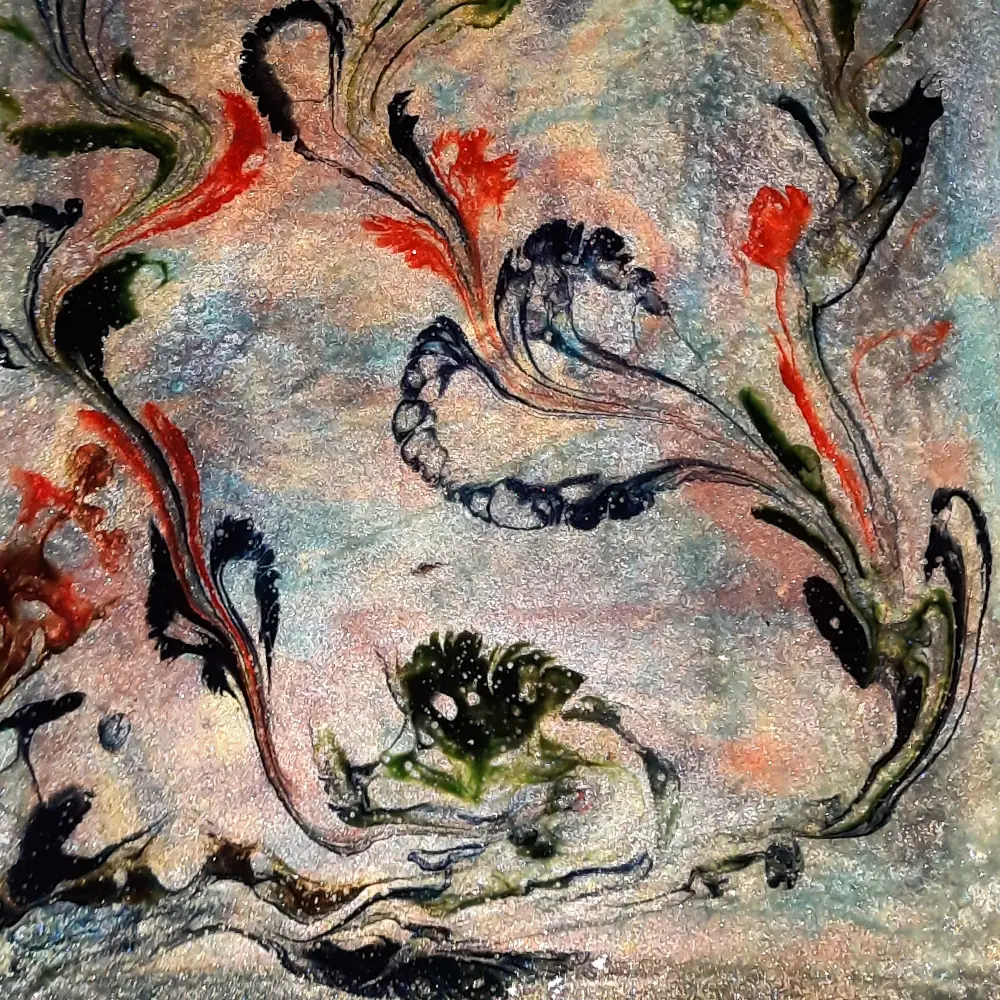
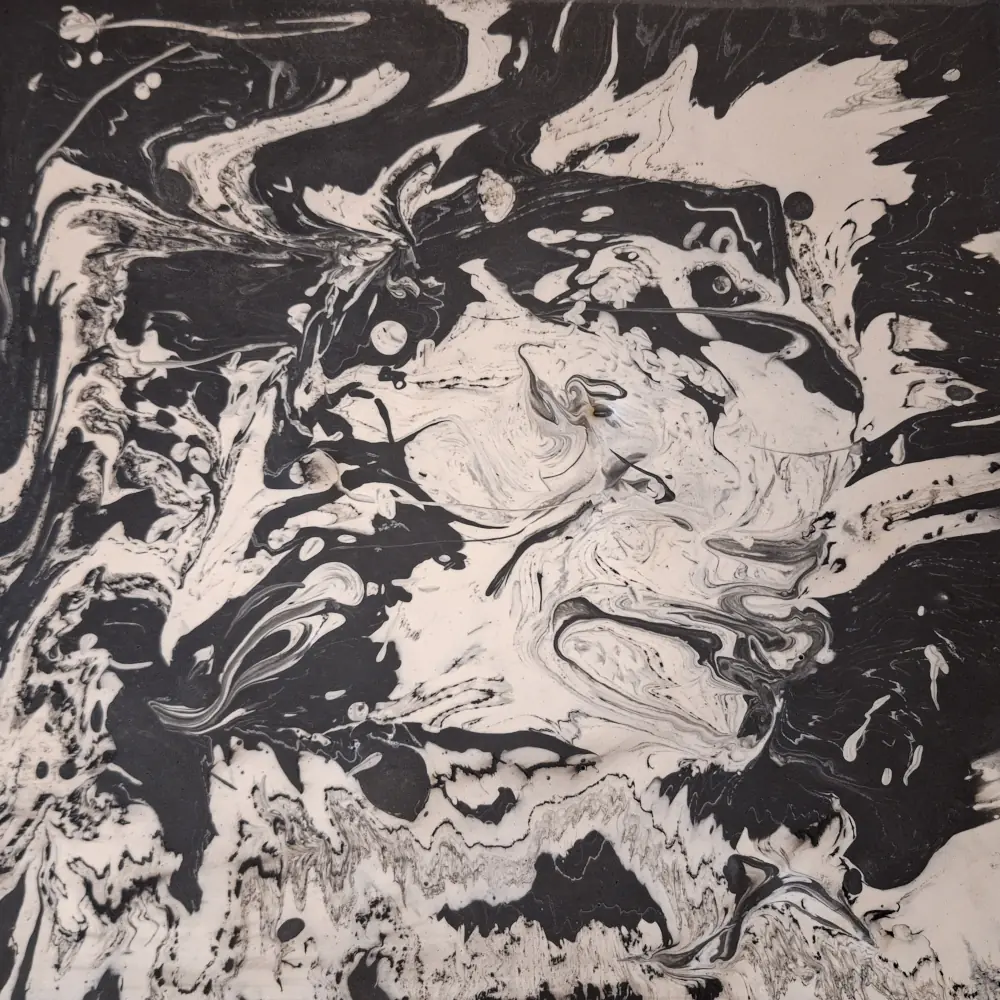
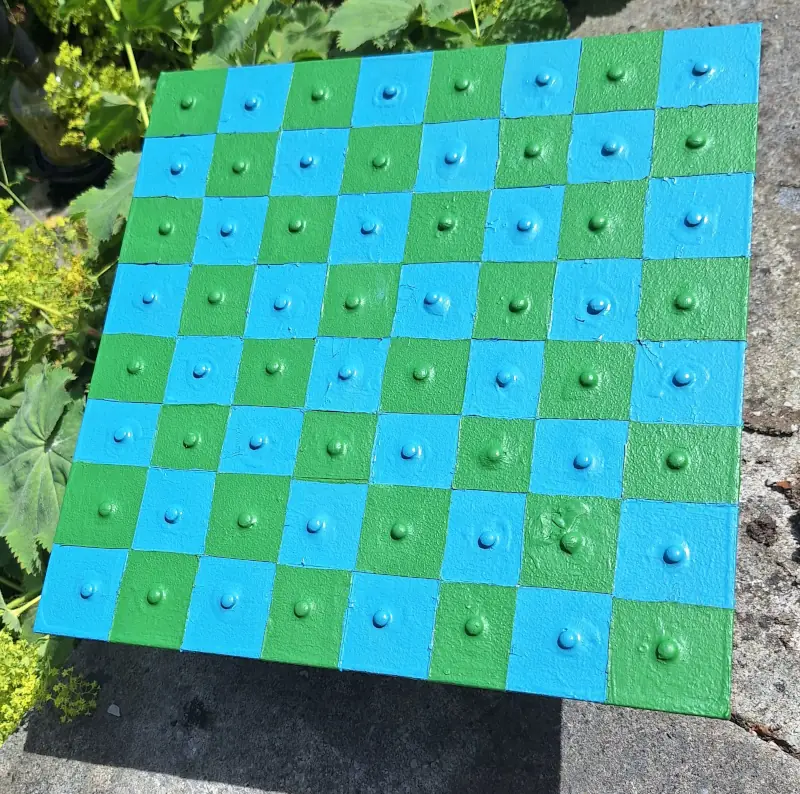
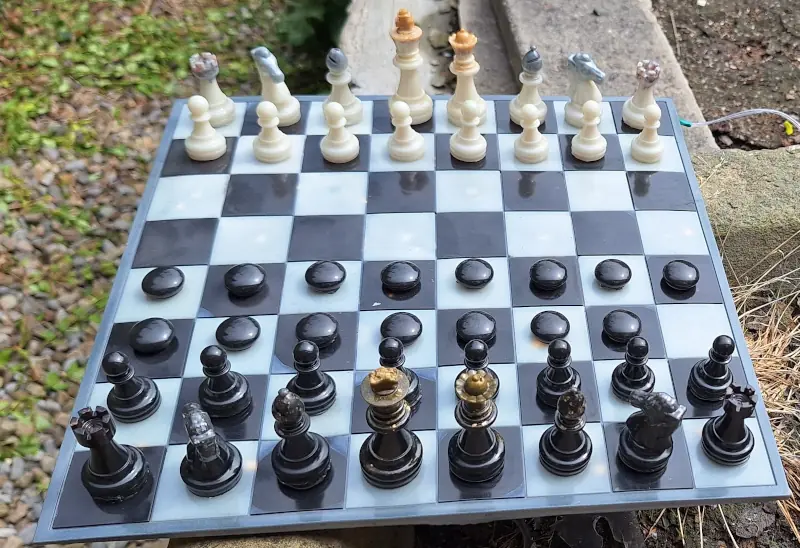
Mixed Media
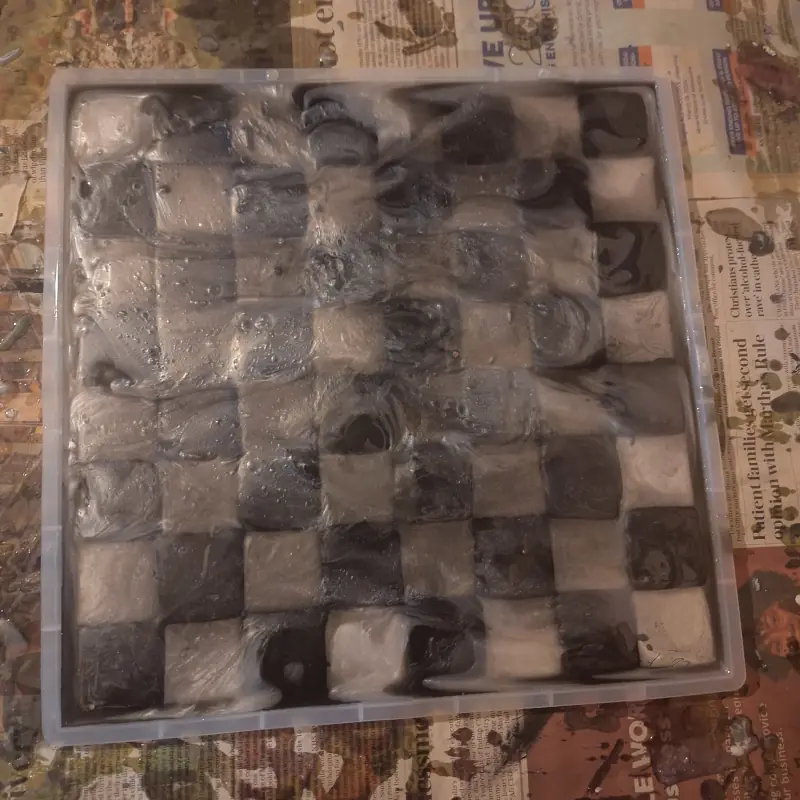
I think that the board pictured here might have been the first that I experimented with when I started on this project. What you see in the pictures here is not epoxy resin, but jesmonite. Jesmonite is similar to epoxy, in that it’s a two-part mixing process, but in the case of jesmonite you’re mixing five parts of a powder to two parts of a liquid, rather than mixing two liquids. The curing process with jesmonite is MUCH faster than resin (even the fast-curing tabletop resins), so you need to work fast with it. That actually makes it quite hard to work with in the case of doing something fiddly like filling 32 squares of a chessboard mould, and 16 chess piece moulds, with the colour that you want, and in practice you end up needing to do each colour in two or even three stages. There is the option of adding a retarding agent to the mix, but that can affect the strength of the final product, so maybe best avoided if possible.
The other things to note about jesmonite are:
- it’s a fair bit denser than epoxy resin, which means that the pieces are quite a lot heavier, and therefore that the magnetism between board and pieces doesn’t work quite so well.
- it’s completely opaque, as you should be able to see in the pictures, and so of course it’s not going to work with embedded LED lights (unless I think of some really clever way to do it which hasn’t yet occurred to me).
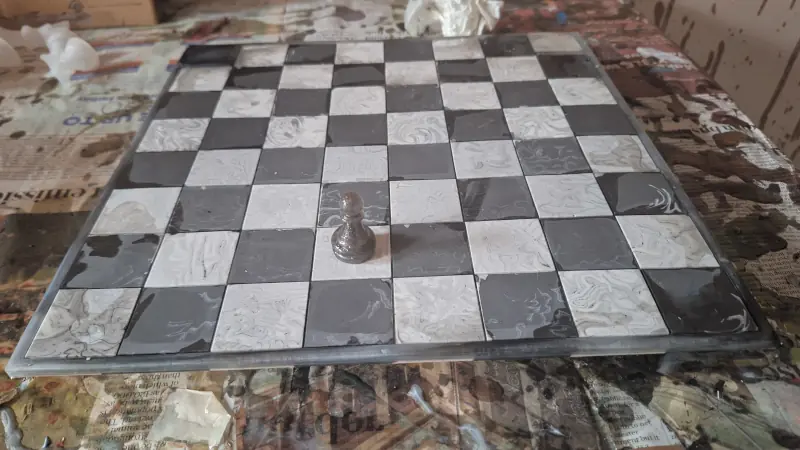
Maybe the answer to these problems will be, in time, to try mixing jesmonite with resin, to get the advantages of both. One advantage of jesmonite, in this context, is the sound. The clack clack sound that the pieces make on a jesmonite board are exactly what you want to hear. There’s a kind of tunefulness that you get from porcelain, which is very pleasing. In the second picture here, you can see that I did in fact use epoxy resin when I was sticking the squares down to the magnetised board that sits underneath. Honestly, that didn’t really work aesthetically, because it ended up finding its way through gaps between the jesmonite and the mould – not really what I was aiming for. However, I’m sure that in time I’ll figure out a technique to combine the two materials.