

It started as little more than a dream, a fantasy which I held onto with one free hand, while the other was gripping the rail on the Northern, Victoria or Central Line on a Monday morning.
As much as ten years ago I started watching YouTube videos of people making river tables with epoxy resin, with an enormous sense of jealosy, and seething anger at some of my own life choices.
But now I'm doing it, albeit that the first river table remains some way off at this point! Each object in the pictures there has its own story, which I will relate soon.
First Attempts
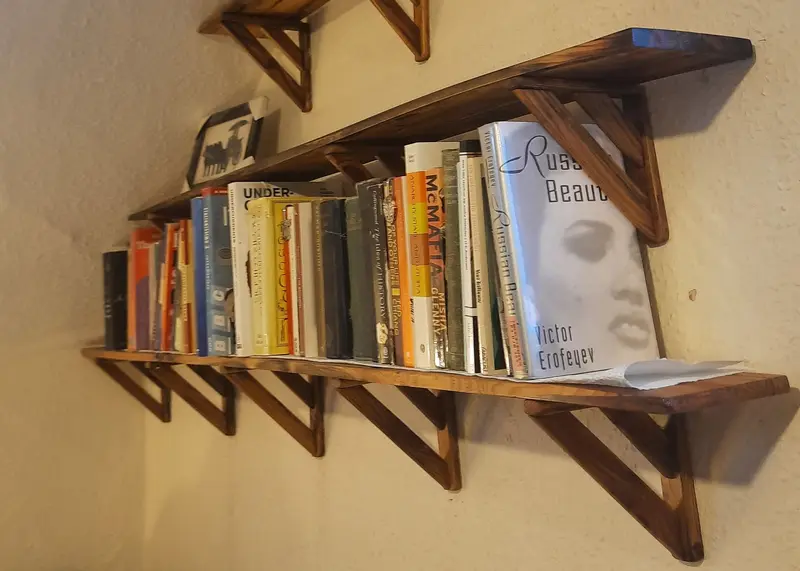
It was early in 2021 that I first acted upon that fantasy. Having returned from London to the North of England, partly due to a persistent cough caused by Long Covid, I found myself working on a restoration project, upgrading some manky old shelves (originally floorboards) into something that would be pleasant to look at. That process was going to take weeks - no, months - but I knew already that I would be using epoxy resin on those shelves. In the meantime, I got hold of some of the typical silicon moulds that someone would buy when getting into working with epoxy. Just the usual stuff – moulds for coasters, clocks, jars, generic abstract shapes like pyramids and spheres, et al. There are still a few of those that I’ve probably yet to use, because I accumulated so many over the subsequent two or three years.
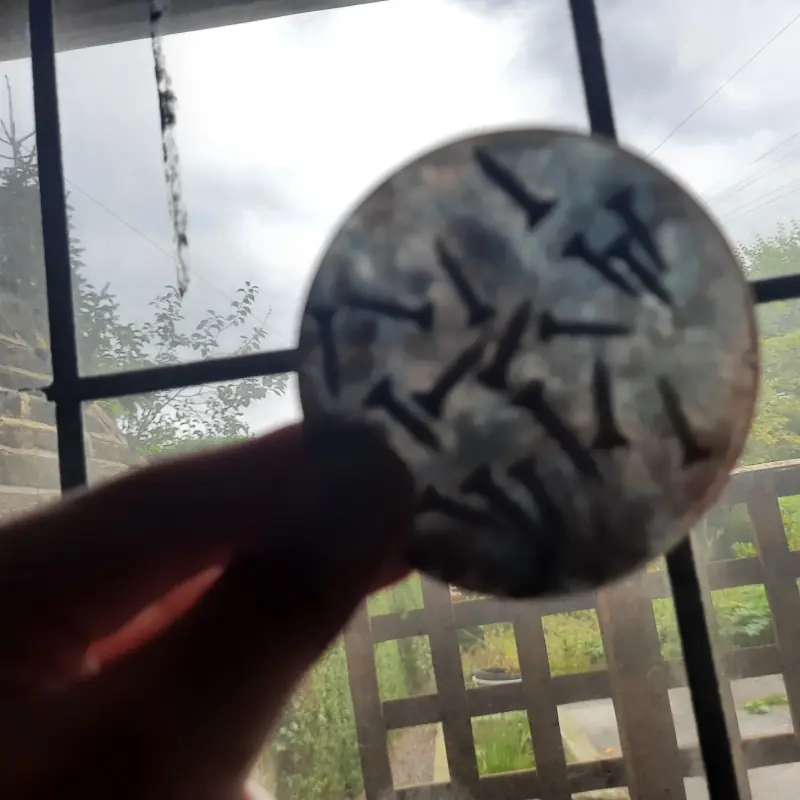
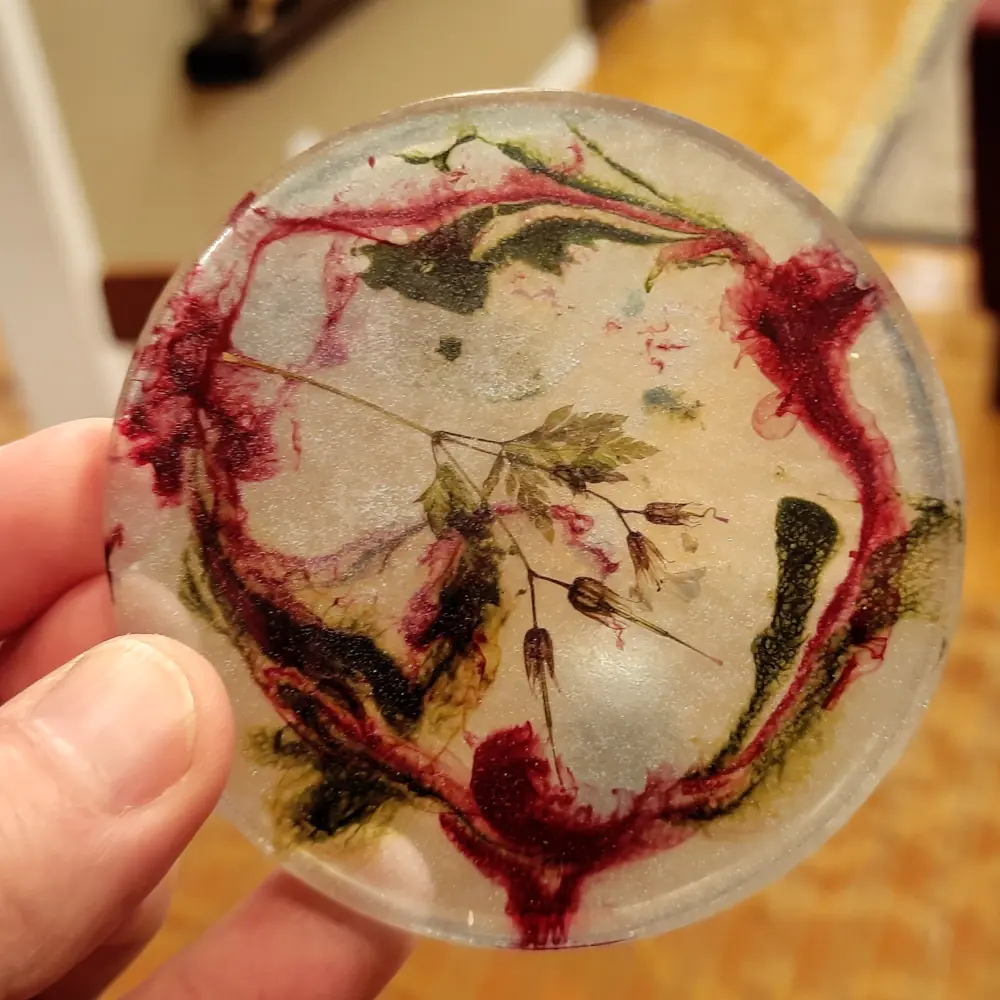
What you see in this picture, though, is one of the first things that I made with epoxy, and even though it’s just another coaster I feel a little sentimental about it. You should be able to make out what’s embedded in the resin, but if you can’t I’ll tell you anyway. Those are just rusty old screws that were sitting around in the cellar, in a very old dirty earthenware bowl. The idea of the colours that I mixed in the resin was to replicate the colours of the rusty old iron of those nails, and it worked in a way that charmed me, giving me an early motivational boost in my epoxy journey. The colours that I used in the resin don’t of course come through in this picture, as there’s too much light passing through in order to see the screws. I’ll add another some time.
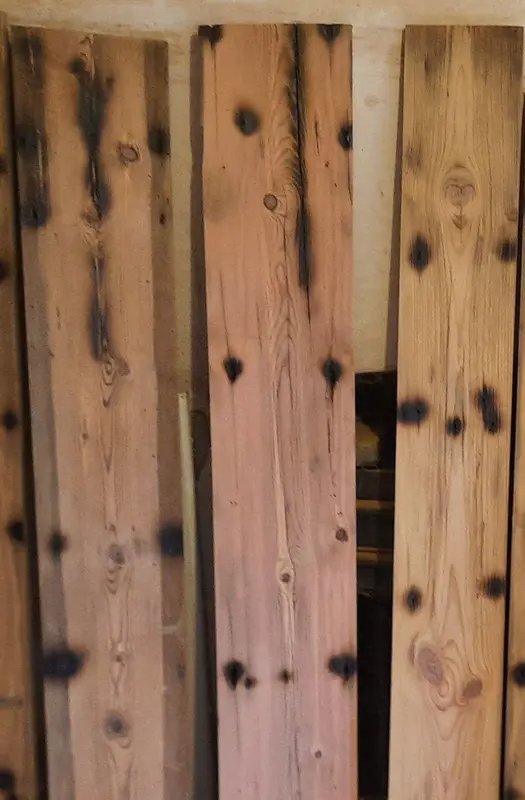
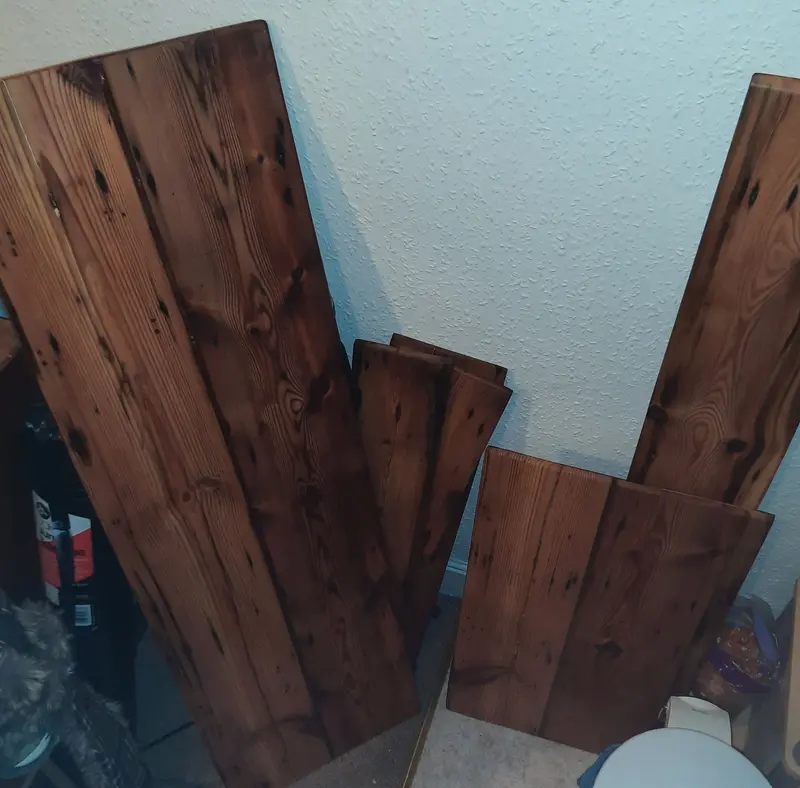
IF you're interested – and no hard feelings if you’re not – here are a few pics of the shelves. Nothing special to look at, but you’ll get the idea at least that the wood which I had was full of holes and cracks (the burn marks that you see in the photo here were just me trying to singe out the rot from the cracks/holes), and was therefore a perfect candidate for epoxy repair and beautifying. Below you can see a closeup photo of one of the cracks, after being filled with epoxy. Nothing fancy there, and you can see plenty of imperfections from the sanding. I'm certainly a lot more thorough than that by now.
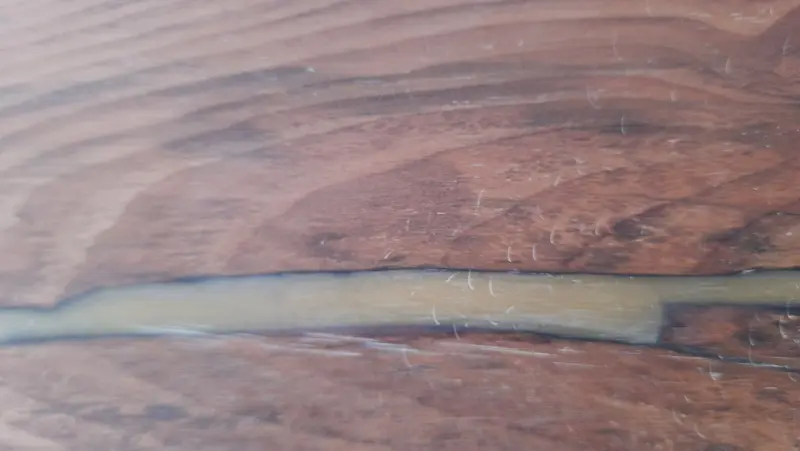
Here on the right you see a picture of what that piece of wood looked like before sanding down. I realise that there's no need in this case to expand on what it looked like :~) Unfortunately I didn’t take so many photos of the development process back in those earliest stages of my learning process, so this is all I’ve got. If I’d been imagining that I would end up creating a fancy website eventually, I would have been taking dozens of exciting pics. But OK, here you go. The first one that you see below is a piece of wood that was very rotten, and which I had had to sand down so much that it needed a proper layer of resin to level it out.
The Bench
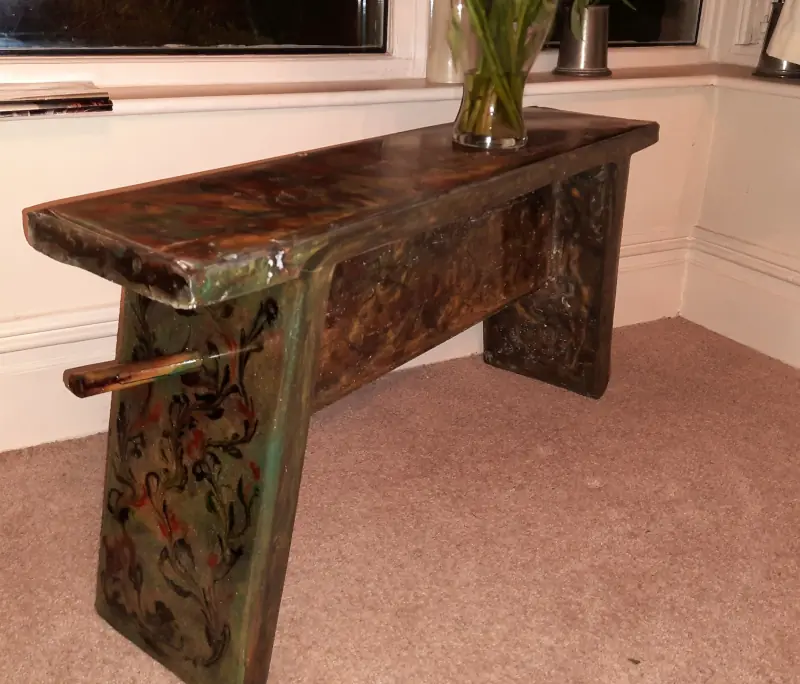
In the autumn of 2021 I enrolled myself on a woodworking class at a social enterprise in Leeds, the name of which I no longer remember. Strange times – still wearing masks, and by extension not really connecting with each other. The teacher (whose name I do still remember - Neil) was a nice guy and I can say that I learned a lot from the course, but I have to admit that I was rather annoyed with the relative tight-fistedness of the managers when they didn’t provide us with proper slabs of wood for the final project. Instead we had to be satisfied with picking out the least scuzzy old warped scaffolding boards that we could find from their selection.
Naturally, then, the final product was never going to look beautiful, so even before the course ended I decided to start experimenting. Before the last class, in which we were to attach it to the legs and the seat, I drilled five large holes in the support piece. My idea was to fill the five holes with resin, in four colours – black, red, green and yellow (which colour I used twice I of course don’t remember any more).
Unfortunately, I had yet to come to terms with just how much preparation it takes to control the flow of epoxy resin, so the experiment didn’t work so well. I know what I would do now to make that idea work, but I was left with a mess.
So I decided to go completely baroque, and to cover the mess with a whole layer of epoxy over each side of that support. That was kind of fun, but then the whole bench looked weirdly unbalanced, and it seemed that I would need to do something about that…..

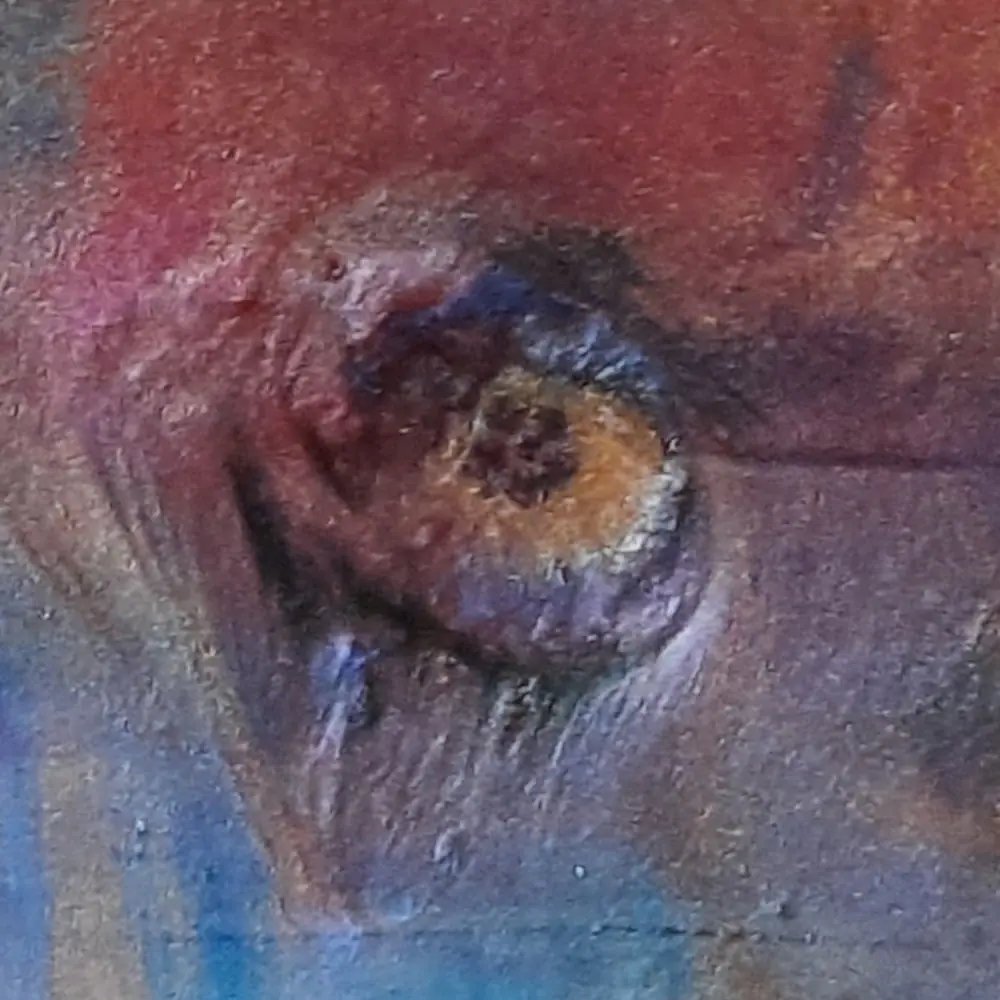
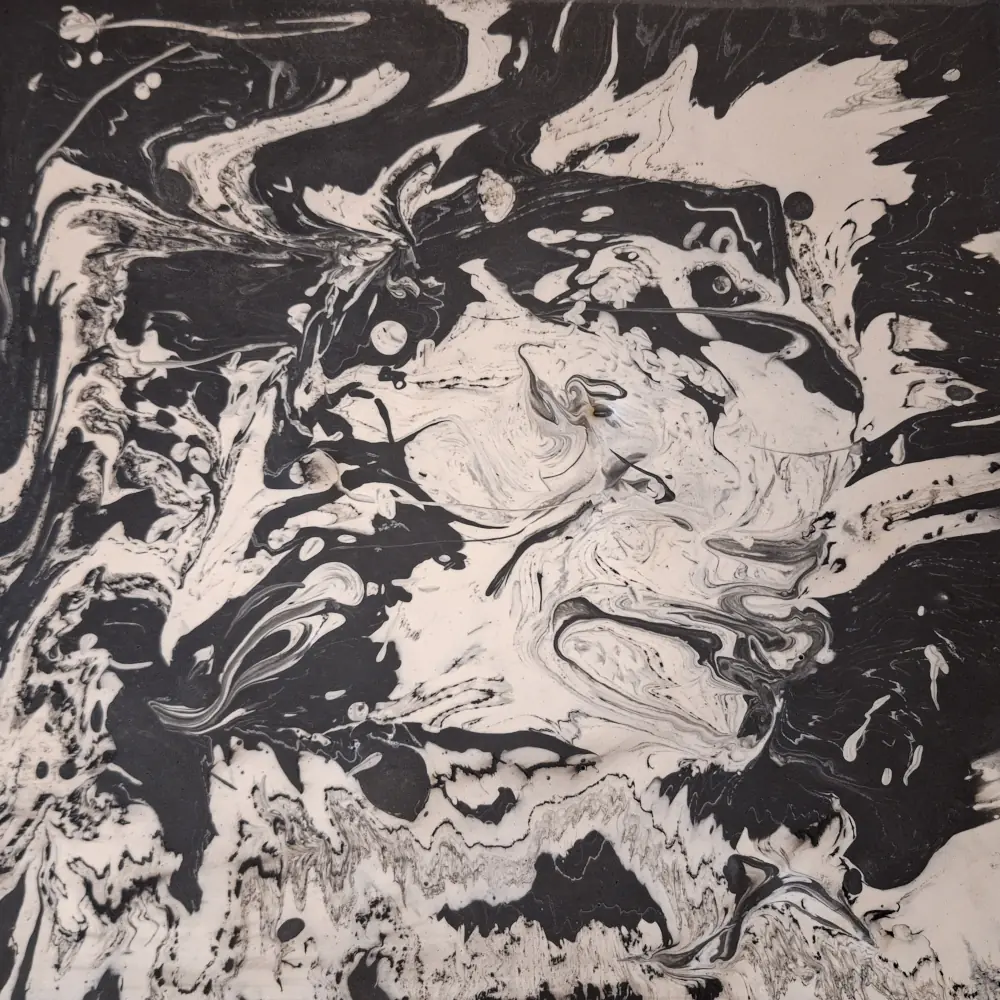
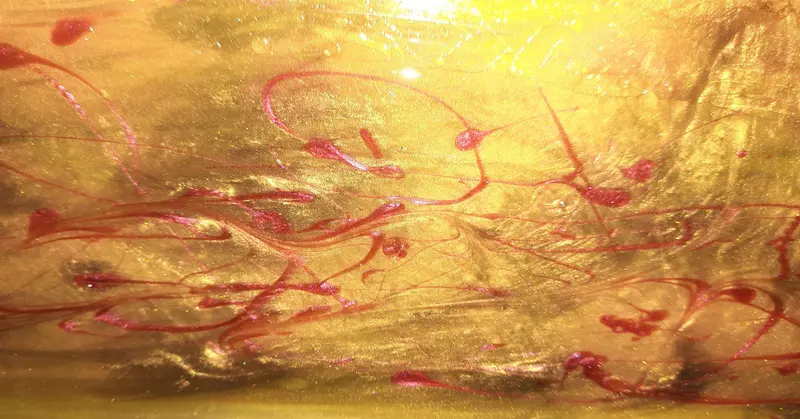
Result – I ended up covering THE WHOLE BENCH with epoxy resin. Some sides were more successful than others, but what you see in this picture is one of the most transcendent patterns that I achieved in those early days. This was on one of the legs. After pouring the epoxy I sprinkled spots of liquid dye, waited for them to settle, and created that pattern using some wooden chopsticks. I won’t go into all the trade secrets, but the trick of it is to work “backwards”, as it were, and not to try to do too much. If I do it right (by no means guaranteed!) I get the majestic pattern which you see here, somehow reminiscent of art nouveau, or Eastern European folk arts. Sorry if that sounds pretentious, but that’s what I see anyway.
Wardrobe Doors
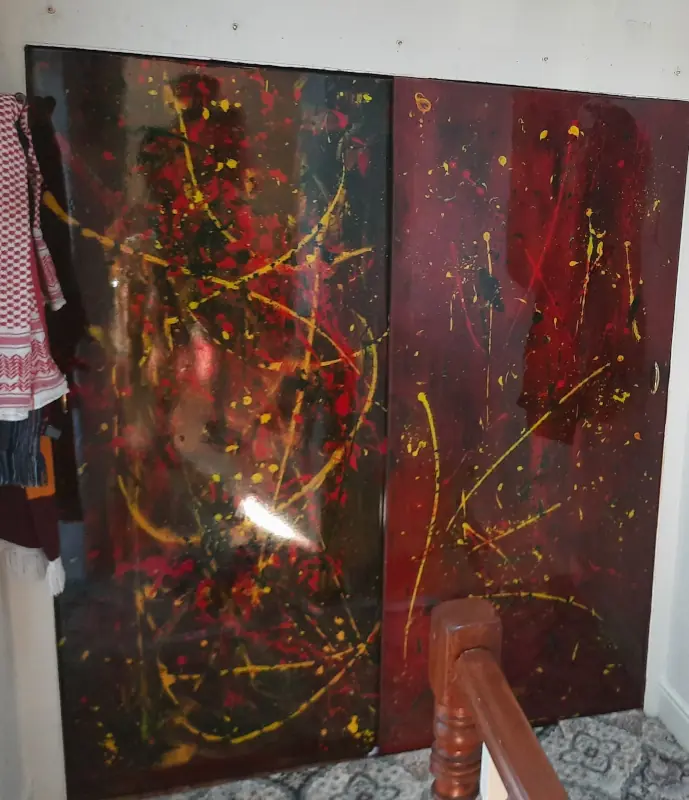
Summer 2022: A pimping project - I was looking at two very miserable and depressing wardrobe doors every time I walked in and out of the room. They also weren’t running properly along the rail, so I needed to fix that. While doing so, I thought I might as well make them a bit brighter. No doubt that I did accomplish that, whether or not you like the design :~)
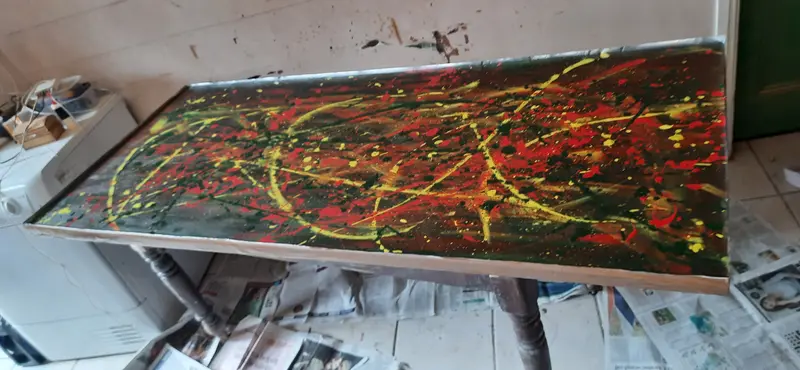
After sanding the doors down I laid them out flat, got out some cheap acrylic paints, and opened up my inner abstract expressionist. First I laid out a base for each door – one predominantly red, and the other one mainly green, but both of them with other colours mixed in. As you should be able to discern from the pics, the weather was unusually hot for this part of the world - any time of year - so I generally needed to work fast before the paint dried.

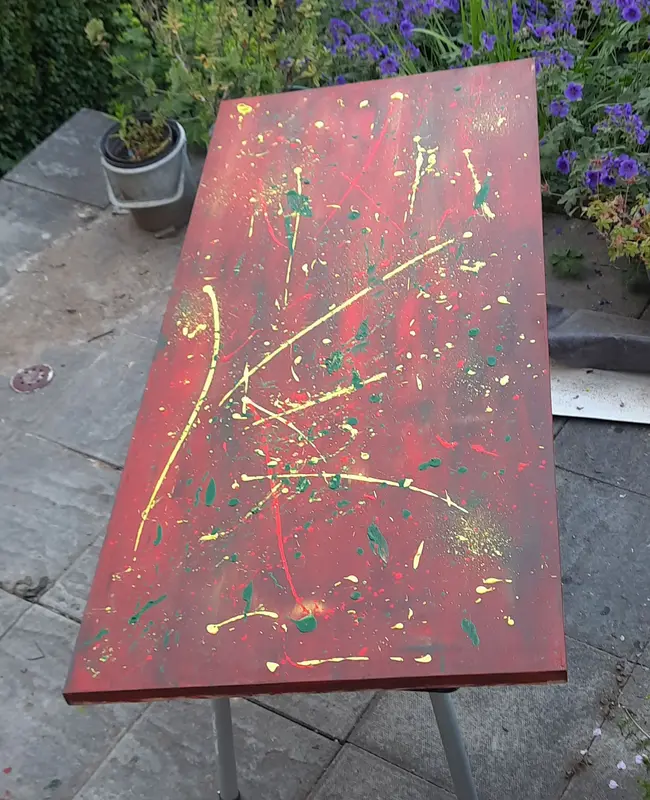
Then I went for the full Jackson Pollock. That is to say, I just squirted that stuff all over the place, and didn’t care too much if I was getting it all over myself. I had a lot of fun, and normally if you’re having fun during the process, the product turns out pretty satisfactory.

That was the essence of the creative process, and there really wasn’t so much to do in the final stage, which was the layering of the epoxy resin. The only thing to note was that I used a much clearer liquid dye, rather than mica powder, and I think that that made sure that the acrylic colours remained more vibrant.
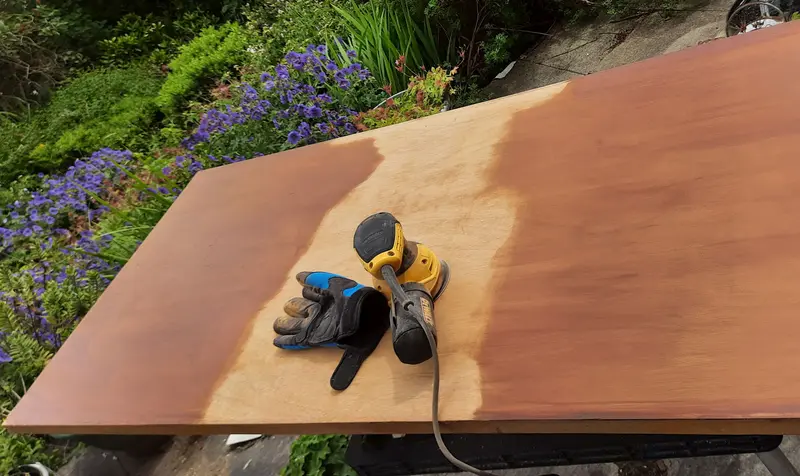
The Worktop
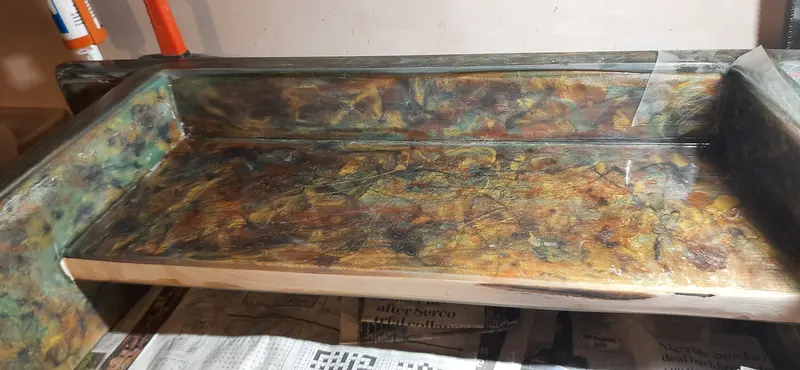
Down in the cellar where all this work goes on, there was a very very old table. My guess is that it’s as old as the house, and has spent its whole life in that cellar, originally I suspect as some kind of a kitchen table in its earliest years, but since the kitchen moved upstairs it’s just been sitting there, ready for the junkyard.
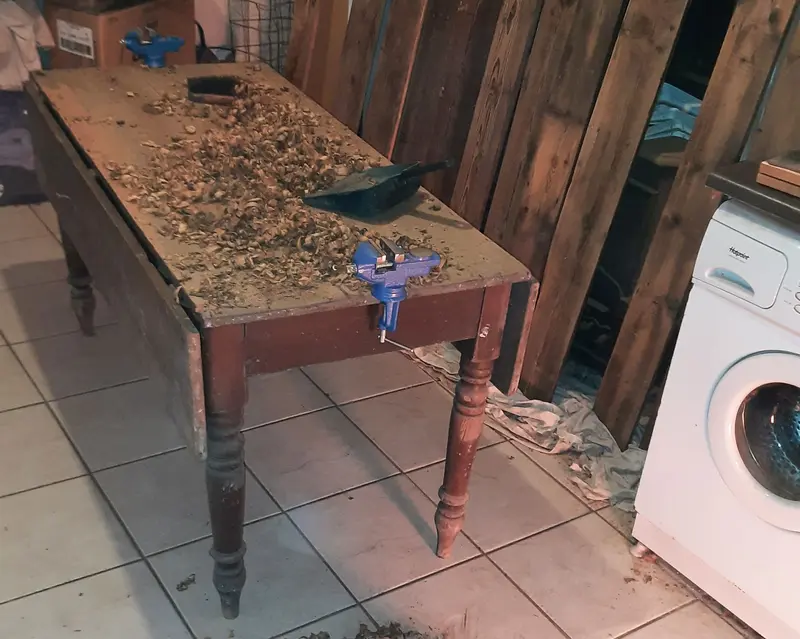
You should have got the gist by now – I don’t like throwing things out. And so in early 2022 I set out to repurpose this table to be a perfectly level space that I could use to lay out my epoxy pieces. Totally reliable flatness is of course essential when working with epoxy resin, and in an old cellar with a wonky floor and a wobbly old table I needed to sort that out. If I’m honest, this was initially more an act of vandalism than restoration, as I needed to remove the adjustable wings (which I did repurpose for something else by the way). That was actually a bit of a job, as some of the screws on the hinges were completely worn down with rust, so in the end I had to get a bit violent to get those wings off.
Once that was done (no photos of this, unfortunately – why didn’t I think of it????) I obsessively taped up the top of the table, to seal it up completely, tipped the whole thing upside down, poured epoxy, and swilled it around by tipping the table backwards, forewards and sideways. The thing was full of cracks, of course, so this was the only method that was going to work for sealing it up.
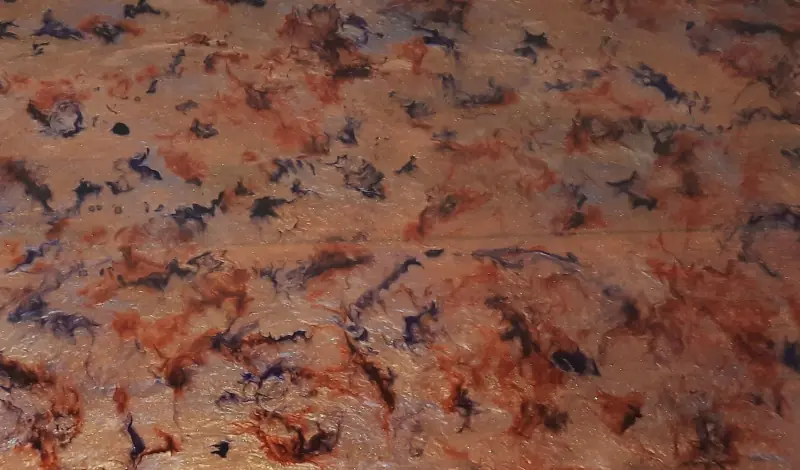
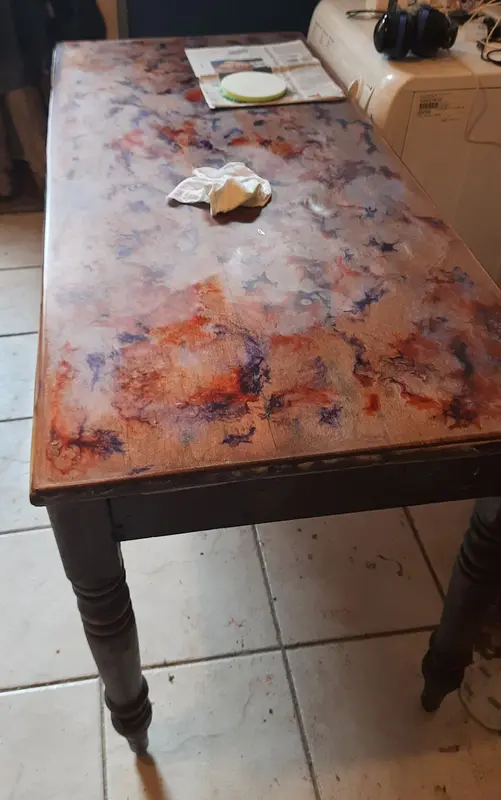
Once the resin was cured, I tipped the table back on its legs, set it up in the position that it was going to stay in the cellar, and added that nice level layer of epoxy that I would be working on in future.
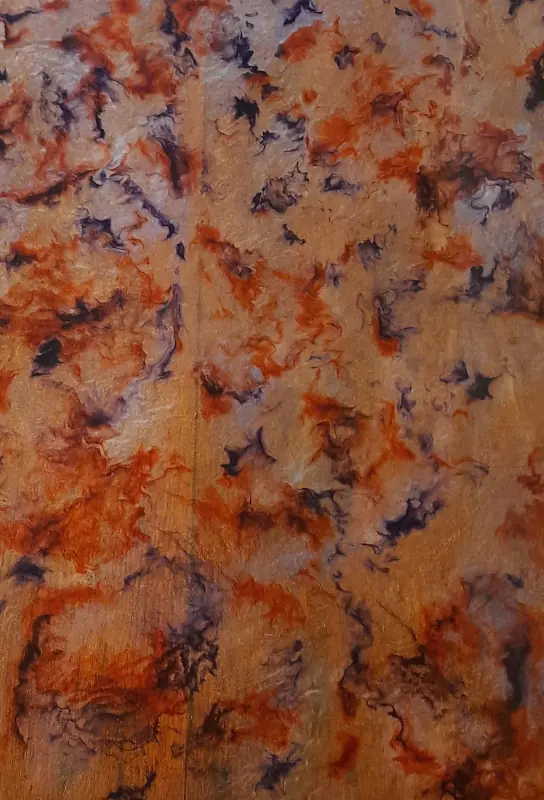
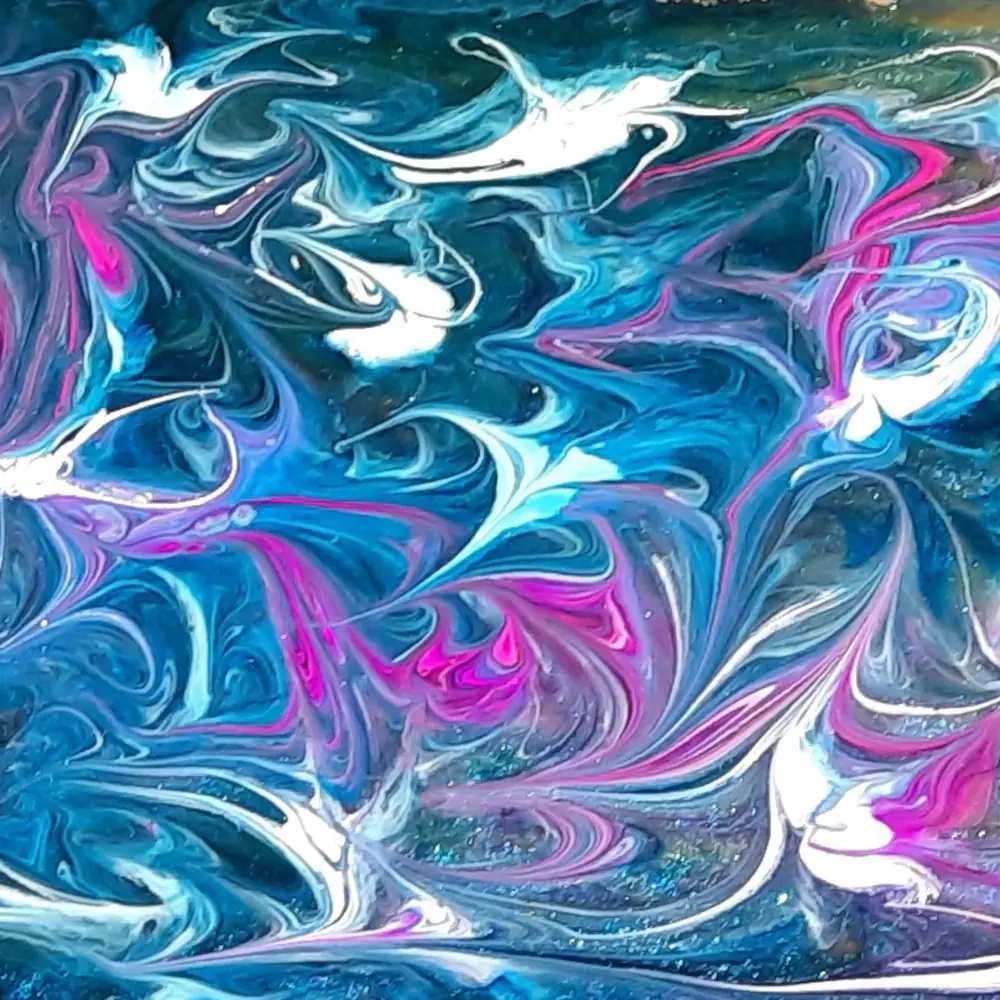
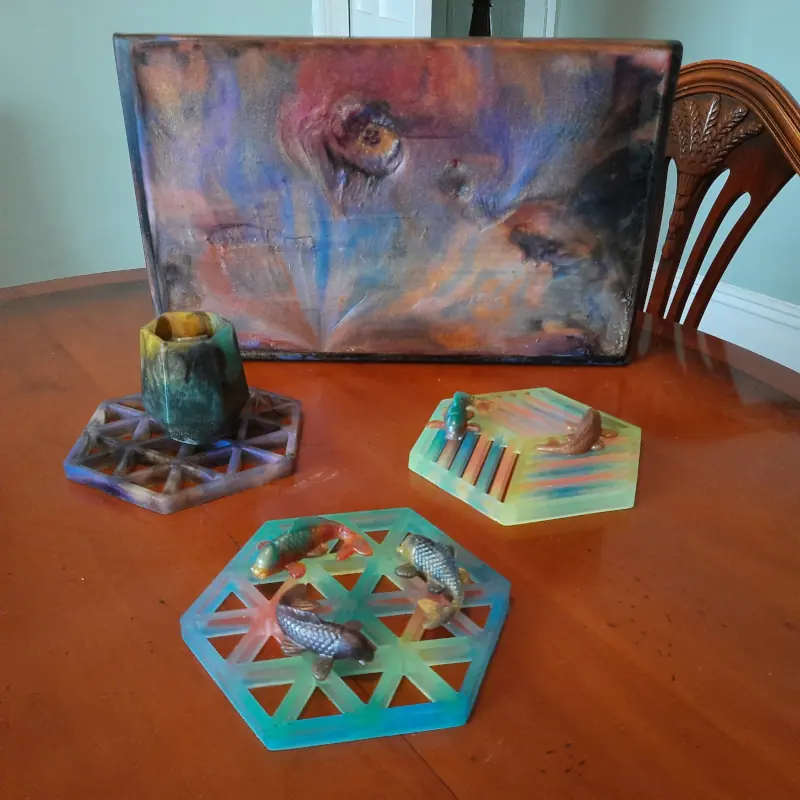
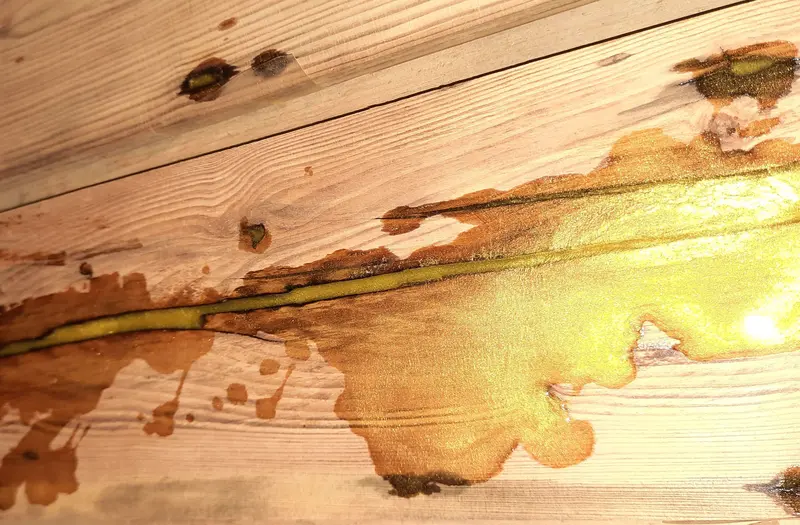
And that it what you see here. I leave the method by which I created that pattern as a bit of a mystery for anyone interested to think about. My very poetic nickname for it is alien vomit. Some will like it, and some will hate it. That doesn’t really matter. Just know that this table is now in regular use, and will I hope contribute eventually to adding a little joy to this sad world.
The Cabinet Backboard
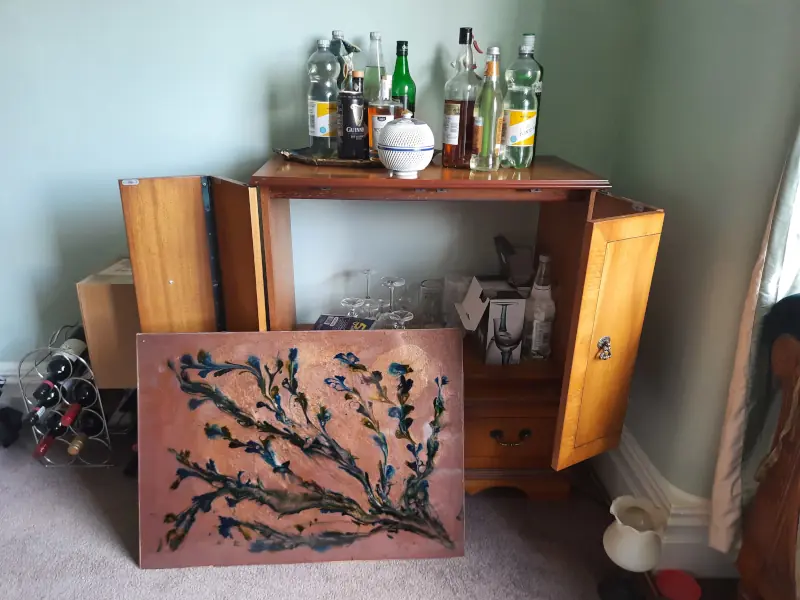
Late Summer 2022: A conversion project. This old TV cabinet had been used as a drinks cabinet for some time, but a drinks cabinet without a back is not ideal of course.
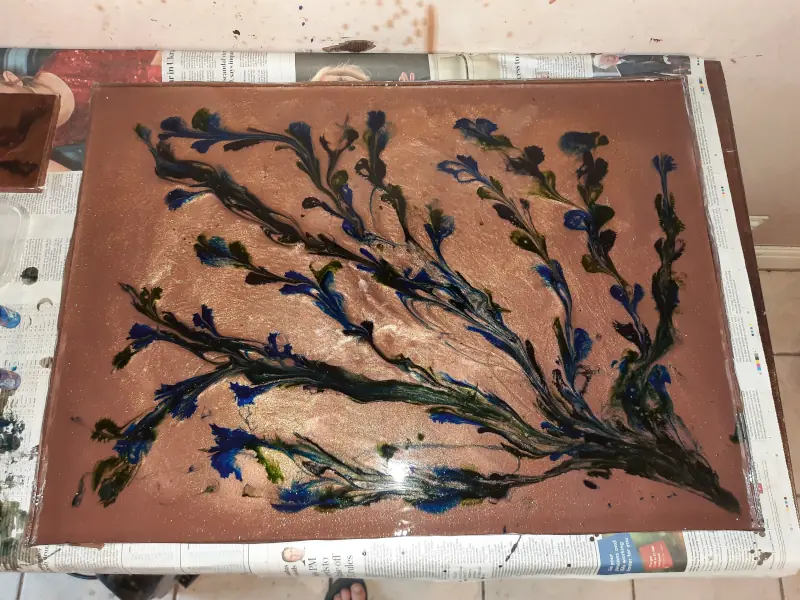
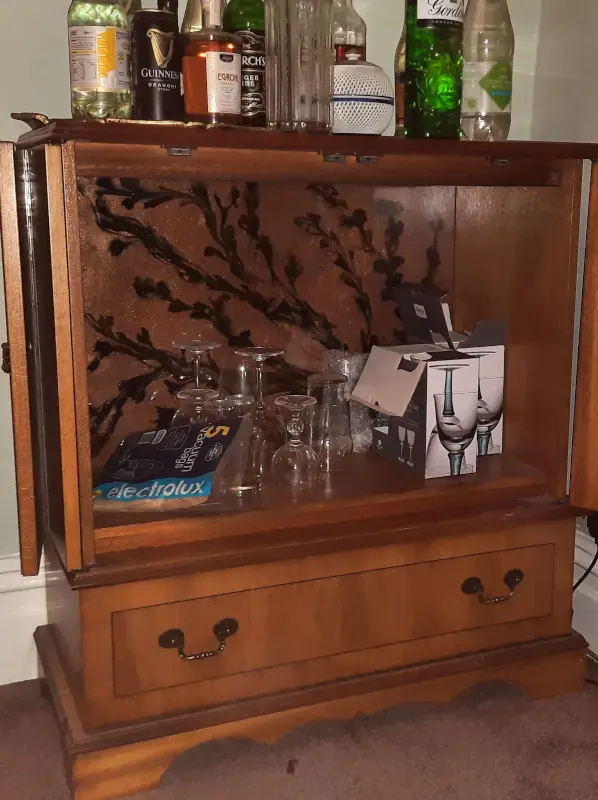
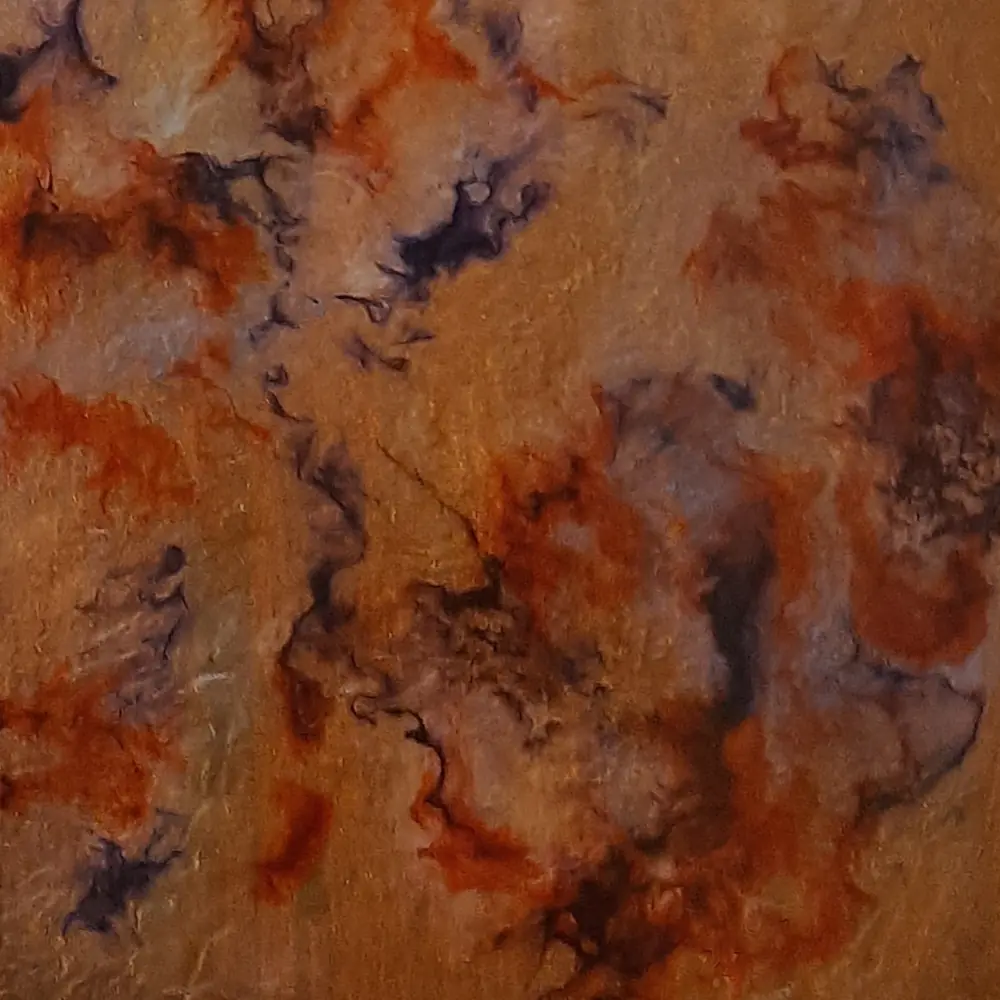
My idea was very simple – I just cut up a sheet of MDF to the size of the gap, and decorated the side that anyone would see. Inspired by the naturalistic pattern that I had created on the side of the bench (see above), I came up with the design that you see here. If I’m really honest, I added too much of the ink, and the effect of the branches turned out a lot thicker than what I was going for. I definitely wanted something a more delicate, but that’s just a lesson that went down in the notebook, and I still think that it’s nice enough and interesting enough to include in this anthalogy, albeit without quite the same amount of marketing guff that I’ve written elsewhere!